Monday, April 26, 2010
Sometimes I dont know why I bother...
Thursday, April 22, 2010
Tuesday, July 28, 2009
Mapping the Route
Then I tried to see how whatroute could take me through all these awesome places without doubling the distance. Here is a link to my effort so far (it is incomplete as of posting). It has so many markers that you have to click across at the bottom to actually see all the points (and the route). So far it goes from Rome to about Besancon in South East France.
You may also note that it goes over about twice as many Alps as is really necessary... this is entirely because I want to go to Chur, to see this awesome railway:

Big thanks also to Andrew Sykes whose research and planning formed the basis of my route!
Wednesday, July 8, 2009
Exustar Stelvio Shoes Review
First Impressions
The first thing that struck me about these shoes was the build quality. They are solid shoes, thick, rigid leather, quality stitching and a very inflexible and thick sole (I think it has a metal plate in it). This is all good (at least for riding).
The rigid sole is great for riding. I tend to ride pretty hard, I get out of the saddle a lot and trash the pedals – these shoes stood up to the punishment admirably. It is, however, important to make sure that you lace them up well (tightly). Furthermore, it is very important to tuck the drive-side laces into the shoe to ensure they do not get caught in the mechanisms! I am strongly considering cutting the laces shorter, they are quite long and are a hazard near the front cogs.
These are most certainly not walking or running shoes, they are cycling shoes that ‘can’ be walked in. The rigid sole is not great on un-ever surfaces, and I would hate to think about walking in these on slippery rock surfaces. Having said that, these are in a totally different league to my sidi’s (with the giant cleats out the bottom) which are practically un-walkable over distances exceeding 100m.
I bought these online without trying a pair on first (thanks to there being NO distribution in
My Sidi shoes are 43 and fit perfectly (if a bit touchy on the width). I have fairly broad, short feet too. I decided to play it safe and get 44’s and I’m glad I did. The fit on these shoes is not very accommodating for broad feet. The width is perfect for me in the 44 but I have a spare 1-2cm of space in the toes (not ideal). These shoes are also quite tall, though correct lacing should fix this – if not – an inner sole!
I expect the leather to soften a bit with wear, and the fit could improve with time. I will update this post after 6months or so to see how they go.
These shoes look normal, that is their key benefit. They are competent riding shoes with good walkability off the bike (for cycling shoes) but their real bonus is that they remove the need for a second pair of shoes. You could easily wear these shoes to the pub, to a mates place, social occasion or casual workplace and no one will notice.
Tuesday, June 16, 2009
Monday, June 15, 2009
How To Remove Brake Levers
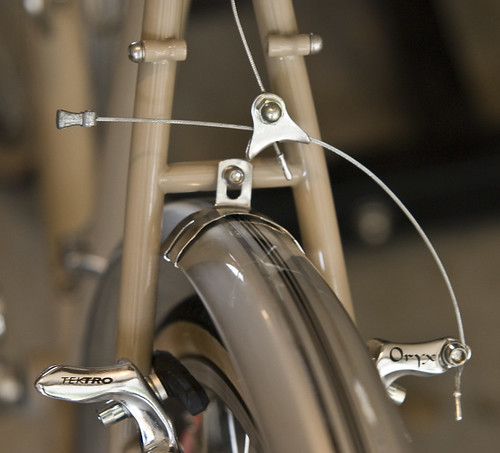
Step 1: Un-clip the Brakes
Step 2: Pull down Brake Lever, Insert Allen Key, Turn anti-clockwise to loosen

Another view:

Step 3: Once loose enough, move brake levers around and off the end of the bar.
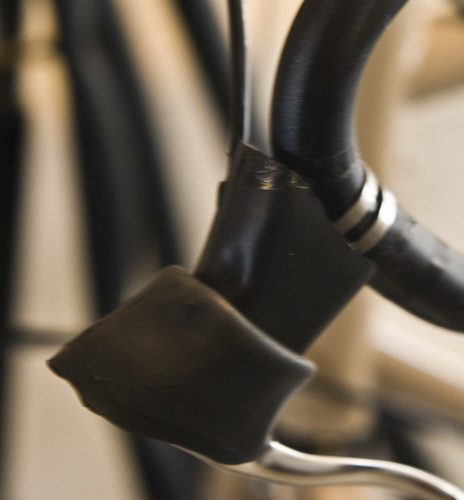
This was also quite easy, but a little fiddly loosening the Allen key bolt inside the brake lever. You can actually remove the whole lever from the bracket if you unscrew totally, but it is probably just as easy to loosen it enough, and it should slide around the bar (I had to loosen it a lot more than I anticipated as the bar is a bit thicker at the ends and round the bends).
Hope this helps!
How To: Remove Bar End Shifters
I didn't find any, but I have taken some pictures of my successful removal and replacing of the bar end shifters - to help anyone else out there like me who loves photos.
Step 1: Remove Bar Tape
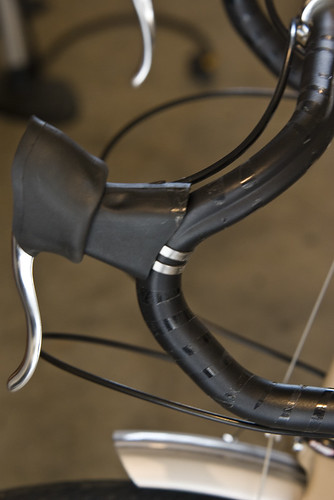
Step 2: Move Both Shifters to the Downward position

Step 3: Undo the Screw on the Shifter

Step 4: Remove the Shift Lever
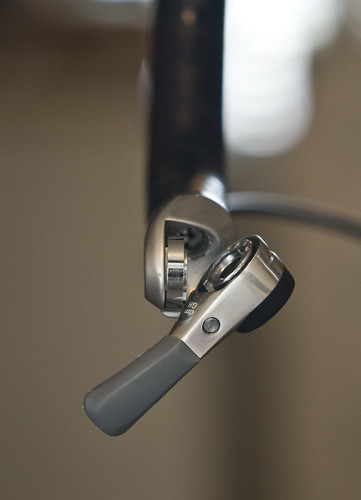
Step 5: Loosen the Expanding Allen Bolt Inside the Bar (TURN CLOCK-WISE TO LOOSEN!!)

Step 6: Pull out the whole Mechanism
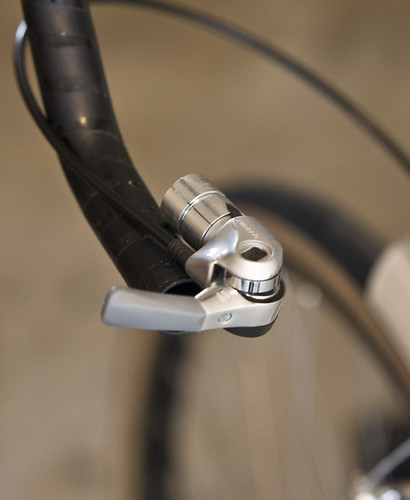

So... it's really quite easy and understandable that no one has bothered putting up step-by-step photos before!


